Just register for the free trial below and we will send you everything you need to evaluate QuickBooks Enterprise including 30-day access, sample company files, and the full 88-page QuickBooks Enterprise Guide that details everything that you can do in the software. Free end-to-end consultation and support are included so if you need any help along the way, just let us know!

Jamie Whistone
We often get asked about how to move from QuickBooks Online to various other QuickBooks platforms. Probably the most common question is how to convert data from QuickBooks Online to QuickBooks Enterprise. The key motivator for moving to Enterprise is that QuickBooks Online, although a good system, usually runs into limitations, and Enterprise being as robust as it is, becomes the next logical step.
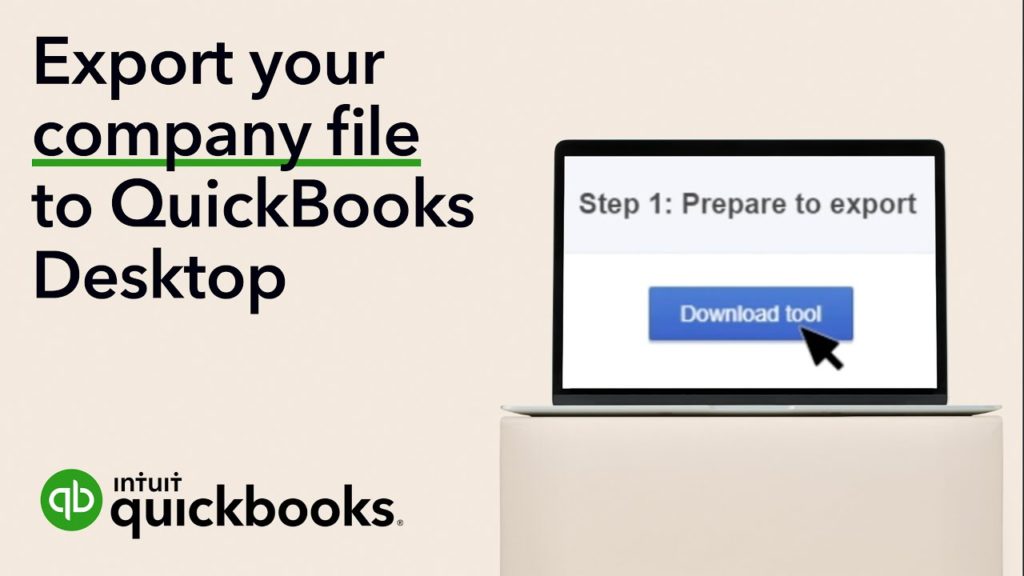
There are a few options when it comes to converting data across QuickBooks tools. We suggest you start by watching this video to get a better overview of the process. Or, you might consider working with a third-party platform such as exportmybooks. They provide a secure, fast, and easy solution for transitioning from QuickBooks Online to QuickBooks Desktop Enterprise. They connect directly to your QuickBooks Online company, convert the information, and create a new version as a .qbb backup file, keeping all of your original data intact. All you need to do is download your new file, open it in QuickBooks Enterprise, and pick up right where you left off. That being said, many people want to know how to complete the process themselves so that they can do it on a one-off basis, or as much as needed, without having to wait.
DIY: Converting Data from QuickBooks Online to QuickBooks Enterprise
If you want to transition the data yourself without investing in a third party, you can. There are a few things to know before getting started though. According to QuickBooks support:
- Exporting into QuickBooks Desktop is only available in the US version of QuickBooks Online.
- To use the export feature, you must be a Master Administrator, Company Administrator, or invited accountant.
- You’ll need to use a PC with Internet Explorer 10 or higher.
- You must have a supported version of QuickBooks Desktop for Windows installed on the PC in which you are performing the export.
First: Export Data
If you’ve reviewed those points and are ready to export data, follow these steps:
- Copy and paste this URL: https://c71.qbo.intuit.com/app/exportqbodatatoqbdt). Note: Internet Explorer and older versions of Safari are no longer supported.
- Click the blue “Get Started” button at the bottom of the page.
- Select the blue “Download Tool” button under “Step 1: Prepare to Export”.
- You will need to install the migration tool. Follow the online instructions to complete this process. You may need to agree to some terms and conditions.
- Select the data you want to convert and then click “Next” and then “Continue to Download”.
- When you’re done, click “Finish”.
If you’ve made it this far, your next step is to prepare the file for export and then select your data in QuickBooks Online.
- Go back to QuickBooks Online where you should still be on the “Step 1: Prepare to export” window. Select Continue.
- Find the data you want to export and select “continue”.
- Select “Learn about the limitations of converting data for QuickBooks Desktop” to learn about things that can impact your migration and select “Continue”.
- You will need a migration certificate. Enter the name and email that you want that certificate email to go to.
- On the email confirmation screen, click “Close” and go back to your QBO file. Then, wait for the email confirmation (it may take some time depending on how much data you’re migrating).
- Now, you’ll need to get back to the export screen in QuickBooks Online. When you get there, click “Get Started”.
- On the “Prepare to export” page, click “Continue”.
- When you get to the “Select your data” page, select the same option you chose before and then click “Continue”.
- On the “Exporting from QuickBooks Online” page, you’ll have a message that says you already have a file to download. Click “Continue to Download”.
- Select “Download QBXML file”. QuickBooks may prompt you to save the file. If so, choose a location that’s easy to find (like your desktop) and select “Continue”.
- At this point, you should make sure you’re on the “No Company Open” screen. If you have a company open, go to “File” and select “Close company”. View your reports to compare your data before and after the export.
If you’ve done this, you’ve essentially exported your data successfully. Now it’s time to run the actual QuickBooks Migration Tool.
- Start by making sure that QuickBooks Desktop is open to the “No Company Open” screen.
- Launch the QuickBooks Desktop migration tool app that was previously downloaded in step 4.
- Enter (or navigate to) the path to the downloaded QBXML file and choose “Import”. Choose a location and name for the new QuickBooks Desktop file.
- You need to find your QuickBooks – Application Certificate. Sometimes it gets hidden behind other screens if QuickBooks Desktop is in the background. Select the read/modify rights and if you want to allow personal data access. Click “Continue” and “Done” on the confirmation screen.
- Once the data has been imported successfully, click “Done”.
Some Things to Keep in Mind…
It’s important to remember that this process can take some time. Make sure you’re allowing yourself enough time to complete this task once you start. Additionally, just because the export looks frozen doesn’t mean that it’s failed. Watch the progress bar and make sure it’s moving every few minutes. Unsure? Give it a few more minutes! If the status bar still doesn’t move, we suggest checking QuickBooks Desktop for an Application Certificate again. To do that, follow these steps:
- In your Windows Taskbar, select the QuickBooks desktop icon to open it. The Application Certificate will appear.
- In the Application Certificate, choose the “Yes”, prompt each time.
- Select “Continue” and “Done” on the confirmation screen.
- buy quickbooks enterpriseconvert company file from quickbooks online to quickbooks desktopconvert company file from quickbooks online to quickbooks enterpriseconvert data to quickbooks enterpriseconvert from quickbooks online to quickbooks desktopconvert from quickbooks online to quickbooks enterprisemove from quickbooks online to quickbooks enterpriseswitch from quickbooks online to quickbooks enterpriseupgrade from quickbooks online to quickbooks enterprise


