


Just register for the free trial below and we will send you everything you need to evaluate QuickBooks Online including 30-day access, the full 76-page QuickBooks Online Guide (details everything that you can do in the software) plus the video training library. Free end-to-end consultation and support are included so if you need any help along the way, just let us know!


QuickBooks Online recently introduced a groundbreaking new invoicing and quote experience to enhance the way businesses create, customize, and manage their invoices and quotes. This new feature eliminates the need for templates, allowing you to customize invoices and estimates on the spot and receive quicker approvals from customers.
In this article, we’ll explore QuickBooks Online’s new invoicing and quote experience so you can better understand how it can streamline your business operations.
Customize Invoices on the Spot
When you create an invoice, the new system takes you straight to the actual invoice, giving you a real-time preview of how it will look as you customize it. This eliminates the need for templates, making the customization process more intuitive and efficient. You can now make changes and see them updated on the spot, ensuring that your invoice aligns perfectly with your brand and your preferences.
New invoicing experience in QuickBooks Online
Get Estimates Approved More Quickly
Getting quotes approved is a priority for any business. The new estimate experience from QuickBooks Online simplifies this process. Your clients can review and approve your estimate online straight from the email you send them, and you’ll be alerted once they respond. This helps expedite the estimate approval process, leading to faster payments and improved cash flow.
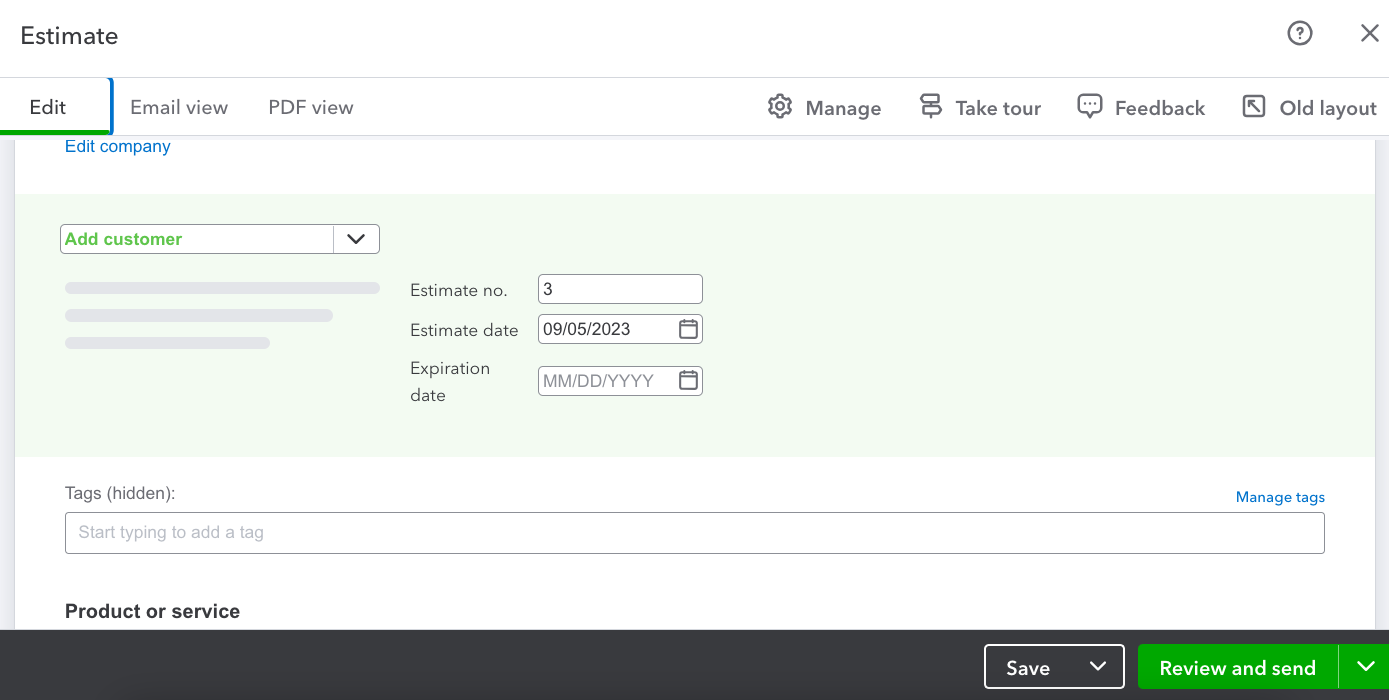
New estimate experience in QuickBooks Online
See your Invoice in Different Views
QuickBooks Online’s new invoicing experience provides you with enhanced flexibility and convenience when it comes to sharing and viewing invoices. That said, it introduces three distinct views: the email view, PDF view, and payor view.
Email View
When you select the email view, QuickBooks Online displays the invoice in a format optimized for email delivery. This view ensures that the invoice looks clean, organized, and professional when sent directly to the client’s inbox.
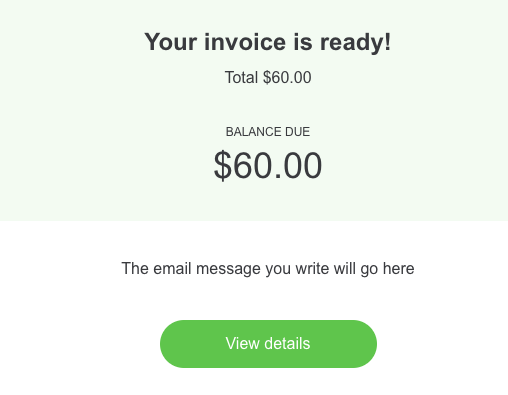
Email view of the new invoice experience in QuickBooks
PDF View
The PDF view is tailored for users who prefer to generate and share invoices as downloadable PDF files
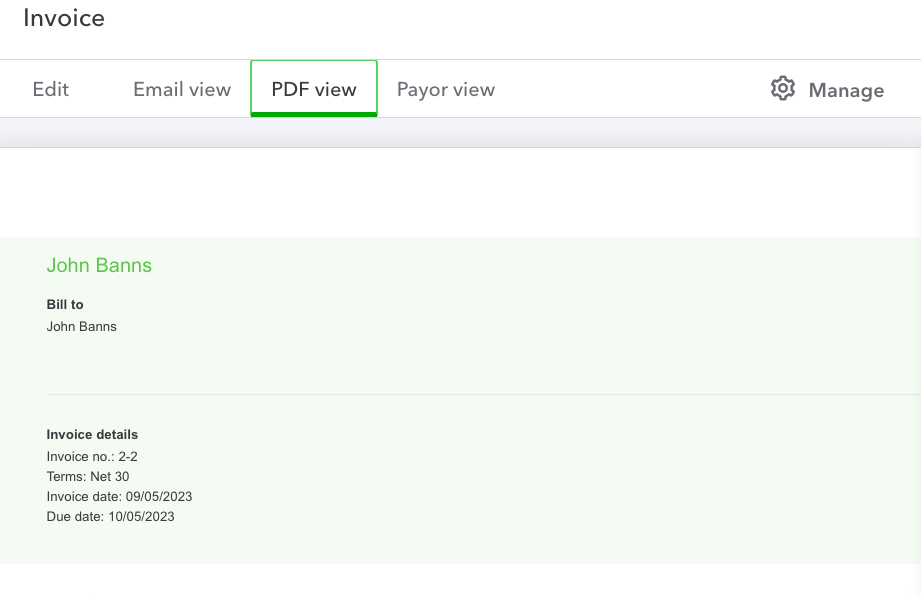
PDF view of the new invoice experience in QuickBooks
Payor View
The payor view is a unique feature that caters specifically to your clients or customers who need to view and interact with the invoice when making payments.
Auto-save your Work on the Go
Mobile users can now enjoy the convenience of autosaving quotes and invoices created while on the go. When you create a quote or invoice, the app automatically saves the changes in real time, and you can always pick up from where you left off. This feature ensures that no important information is lost, even when working from a smartphone or tablet. Additionally, you can import contacts from their phonebook and send invoices by text message, making communication with clients more efficient than ever.
Seamless Transition to the New Invoicing & Quote Experience
QuickBooks Online ensures a seamless transition, automatically providing access to the new feature once the update occurs. There are no additional steps required on your end. Your existing information will be transferred over smoothly, preserving your data integrity and making the transition hassle-free.
Can I switch to the old invoicing experience?
Yes, you can. To do this, simply click on the Old layout button located at the upper right corner of the invoicing screen, as shown below.
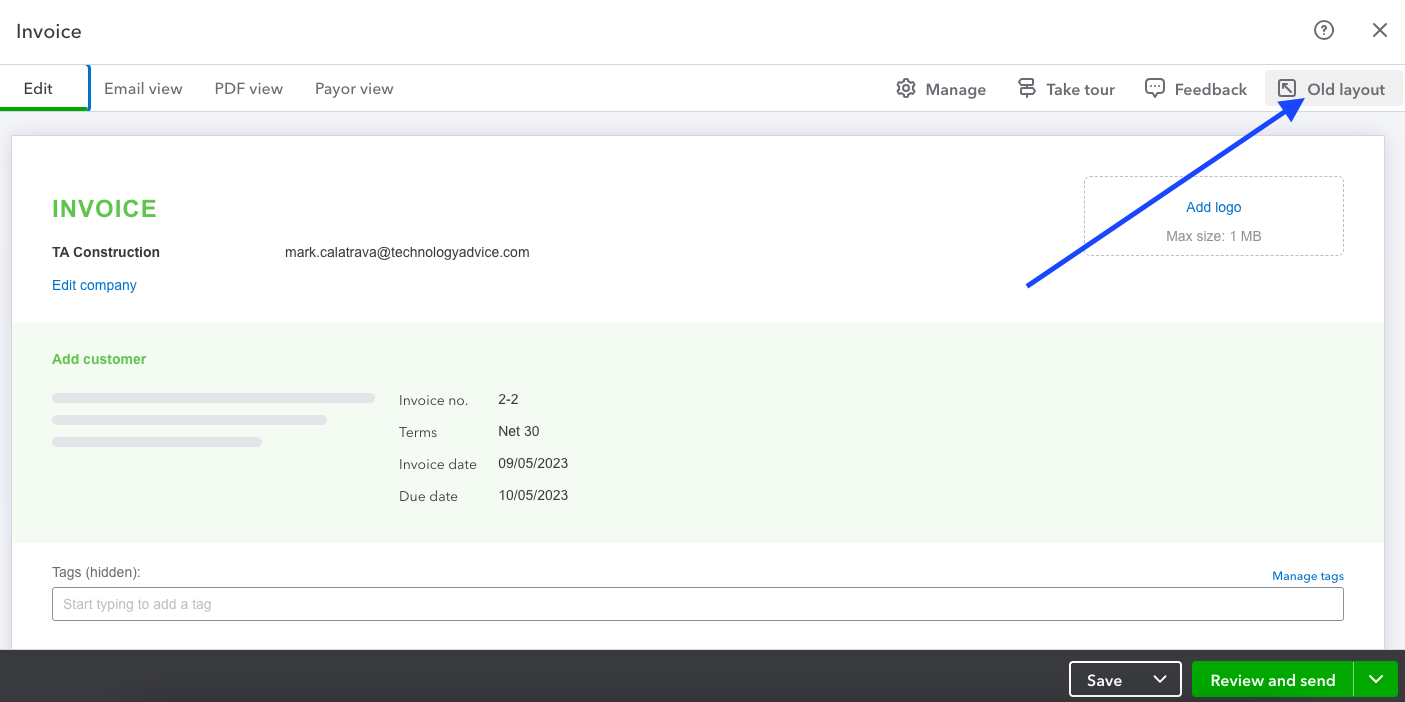
Switching the invoice experience to old layout in QuickBooks
How to Create and Send an Invoice with the New Invoicing Experience
Navigate to Invoice: To get started, select + New and then select Invoice under the Cutomers column. This will take you straight to the new invoicing experience.
Select a customer: Select Add customer and choose a customer from the dropdown menu. Ensure that all customer information, especially their email address, is correct.
Setting Invoice Details: Review the Invoice date, Due date, and Terms. Modify these details as needed. For instance, you can adjust the payment terms based on your agreement with the customer.
Select Products or Services: To add products or services to the invoice, choose Add product or service from the dropdown menu. You can specify how you want to calculate the charge amount, whether it’s a flat rate, by item, or by hour.
Charge Calculation: Depending on your selection in the previous step, you can now enter the quantity and rate for the products or services. This allows you to customize the invoice according to the specific transaction.
Customization Options: To further customize the invoice’s appearance and content, select the gear icon (⚙) and choose options from the side panel. QuickBooks will remember your choices, applying them to all existing and future invoices for consistency.
Save and Send: Once the customization is complete, you have several options for saving or sending the invoice:
If you’re ready to send the invoice, select Review and send to email it to your customer. You can adjust the email if needed before sending it. To send the invoice later, choose Save and close. For a paper invoice, select Print and download. To send your customer a link to their invoice via text message, select Share link.
Wrap Up
The new invoicing and estimate experience in QuickBooks Online not only saves time but also enhances customer interactions, ultimately contributing to improved cash flow and business success.

Why QuickBooks Online Is a Game-Changer for Small Business Accounting
For small business owners, managing finances can feel like a constant balancing act, trying to stay on...

Can I Use the QuickBooks Online Test Drive to Test integrations?
QuickBooks Online can have a learning curve, especially for new users or businesses trying to integrate...

How Can I Contact QuickBooks Online Support?
Navigating QuickBooks Online can sometimes be challenging, especially when issues arise that require...

How Much Does Each QuickBooks Online Plan Cost per Month?
QuickBooks Online offers a range of subscription plans designed to meet the diverse needs of businesses...

QuickBooks Online Advanced vs Enterprise: A Detailed Comparison
QuickBooks offers two robust solutions for businesses ready to step up from basic accounting software:...

QuickBooks Online vs Desktop: Differences & When to Use Each
QuickBooks, a popular accounting software, offers two main versions: QuickBooks Online and QuickBooks...

Is There a Specific Time of the Month that's Best for Migrating to QuickBooks Online?
Migrating to QuickBooks Online can be a transformative step for your business, offering improved accessibility,...

Can QuickBooks Online Integrate with My Point-of-Sale (POS) System?
Efficient financial management requires seamless integration between your Point-of-Sale (POS) system...

Why Should I Migrate from QuickBooks Self-Employed to QuickBooks Online?
Migrating from QuickBooks Self-Employed (QBSE) to QuickBooks Online (QBO) can significantly enhance your...

How Does QuickBooks Online Handle Sales Taxes?
Managing sales tax is a crucial aspect of running a business. It can be complex and time-consuming, but...

Can I Import My Data From Another Accounting Software to QuickBooks Online?
Transitioning to a new accounting software can seem daunting, especially when considering the need to...

How Does QuickBooks Online Help With Project Management for Marketing Agencies?
QuickBooks Online offers a suite of tools that can significantly enhance project management for marketing...